Pin the Winter Haven Scarf For Later!
Add this scarf to your Ravelry Favorites!

Winter Haven Scarf
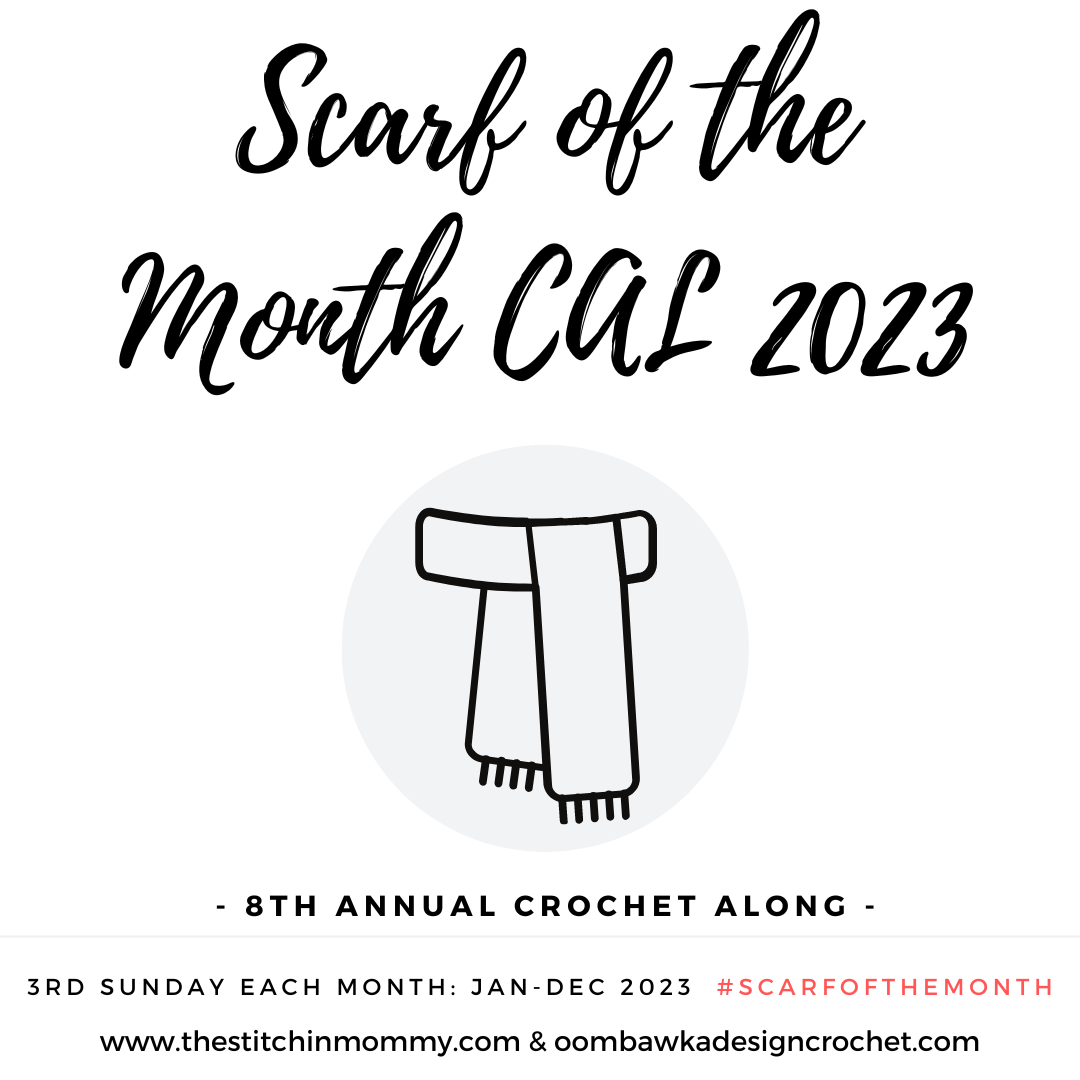
The Winter Haven Scarf is my design for this month’s Scarf Of The Month Club hosted by Oombawka Design and The Stitchin’ Mommy. Be sure to check out Rhondda’s Lacy V Stitch Scarf HERE and Amy’s Sadie Mesh Scarf HERE or click the graphic below for more information on this CAL including the schedule!
For a limited time only, make sure that you grab your free pdf of my Winter Haven Scarf
(scroll down for button)
I made my Winter Haven Scarf sample with Lion Brand Vanna’s Choice. I used a #4 medium weight worsted, but you could really use almost any yarn you like, just be sure to adjust the hook size to the recommended one for your yarn plus one size larger.

Winter Haven Scarf
Scroll down for the free pattern
~or~
Purchase an ad-free PDF version on Ravelry
And don’t forget to Pin It Too
Find all my FREE crochet patterns HERE
For the Winter Haven Scarf I chose a combination of stitches to provide lots of texture for solid colors, but I think it lends itself nicely to multi color versions too! This stitch pattern is an easy version of a crossed stitch variation combined with slip stitches. Watch the design and texture pop!
I don’t like very long or wide scarves so I designed this one to be approximately 6″ x 49″ , however, it’s super easy to adjust sizing. Simply work your beginning chain to whatever length you like – just be sure to start with increments of 2 chains and make as many row repeats as you like to achieve the width you want!

I designed this scarf to be worn in a variety of configurations. You can leave the buttons off and wear it hanging or wrapped, you can wrap it several times and button it on the ends for a shorter cowl look, or you can button it along the long edge of the scarf using the holes made by the stitches, as your buttonholes! And for another fun variation, add some fringe!

Size: Approximately 6″ wide x 49″ long
Materials:
- Medium Worsted Weight (#4) yarn, such as Vanna’s Choice, approximately 250 yards.
- Hook Clover Amour J/6.00 mm
- 1″ Buttons – 3
- Tapestry needle for weaving ends
Did you know I have a shop on Amazon featuring some of my favorite tools and gadgets? Click the link below to visit my shop and get your supplies, at great prices, fast and easy.
Gauge: 18 sts x 16 rows = 4” in pattern
Abbreviations (US Terms):
BLO: back loop only
ch: chain
dc: double crochet
hdc: half double crochet
sc: single crochet
sl st: slip stitch
st(s): stitch(es)
Notes:
- Pattern written in US Standard terms.
- Beginning chain does not count as a stitch.
- Do not work slip stitches too tightly.
Winter Haven Scarf Instructions — Show it some love on Ravelry
Scarf:
You will have 170 sts in each row, unless otherwise noted.
Row 1: Ch 171, working along back bump of chain, sl st in 2nd ch from hook and each ch to end.
Note: If you want to change the length of the scarf, add/decrease the beginning chain in increments of 2.
Row 2: Ch1, turn, working in BLO, sl st in each st to end.
Row 3 (Right Side Row): Ch1, turn, working in BLO, hdc in first st, [skip next st, hdc in next st, working in front of st just made, hdc in skipped st], repeat between [ ] until there is 1 st left, hdc in last st.
Rows 4: Ch1, turn, working in both loops, hdc in first st, [skip next st, hdc in next st, working in front of st just made, hdc in skipped st], repeat between [ ] until there is 1 st left, hdc in last st.
Rows 5 & 6: Ch1, turn, working in BLO, sl st in each st to end.
Rows 7 to 22: Repeat Rows 3 to 6. Do not fasten off.
Note: If you want to change the width of the scarf, add/decrease the number of repeats of Rows 3 to 6.
First Edge:
For the edge rows, work the first and last st in BOTH loops and the remaining sts in BLO. You will have the same number of sts in each row, I had 22.
Row 1: Turn to work along the short side of scarf, ch1, sc evenly across to end – I ended up with 22 sc, you may have more or less, just make sure it lays flat with no puckering.
Rows 2 to 4: Ch1, turn, working in BLO, sl st in each st to end.
Row 5: Ch2 (does not count as a st), working in BLO, dc in first st, dc in each st until there is 1 left, dc in last st.
Rows 6 and 7: Ch1, turn, working in BLO, sl st in each st to end. Fasten off after last repeat.
Second Edge:
Sew buttons in place on right side, evenly spaced. Use the spaces in Row 5 of the First Edge to button scarf on end. You can also wear the scarf in many other configurations and use the holes created by the stitches to button it in place!
Fringe:
I did not add fringe to this particular scarf, but I think it would be a nice touch. If you’d like to add some fringe to yours, feel free to check out my free video tutorial!
Click HERE for my free video tutorial with easy step by step instructions.

************************************************************************************************
I can't wait to see your finished projects,
so feel free to share them on my Facebook page!
Follow me on…


Sign up for my newsletter and get free patterns, giveaways and
other fun stuff delivered directly to your mailbox!

****************************************************************
I’m always happy to help you with questions regarding my patterns. Send me a message and I'll get back to you as soon as possible. Please feel free to sell finished items from my patterns. Pattern credit is not required, but is always appreciated.
Copyright © 2023 Pattern Paradise. All rights reserved. No part of this publication may be reproduced, distributed, or transmitted in any form or by any means, including photocopying, recording, or other electronic or mechanical methods, without the prior written permission of the publisher.


